
I had tons of fun putting together this wreath. I put together a picture tutorial so you can make one too!
This is the finished wreath. I used a combination of CTMH Frosted, Wonderland (retired), White Daisy and Sky card stock. I also made the bow using the Artiste cricut cart found on page 55 by using the Accent 3 > g > keys. I put it on fit to page to get the largest bow I could. I added a metal bling (retired) to the center. I also added 3 snow flake stickers from the Wonderland stickease(retired). I used my Bonding Memories Glue Pen to add Prisma Glitter to the snow flakes and a sky blue sparkle in the center. I added a piece of Slate Satin Polka Dot ribbon to hang it.

You will need the following. 5 pieces of 12 x 12 patterned paper, 10" styro foam wreath, stick pins and a bone folder and either a ribbon or wreath holder. You can also decide if you want any other embellishments to finish up your wreath. I decided to do a combination of patterned paper and card stock, cutting only a few strips of the solid card stock. The great thing about the patterned paper is each side has a different pattern so you give yourself a lot of options when assembling your wreath. You want to cut each piece of patterned paper at 1/2 inch.

I took the 1/2 inch strip of paper in my hand and found the center. I took my bone folder down the strip of paper. A similar technique is how you use your scissors to curl ribbon.
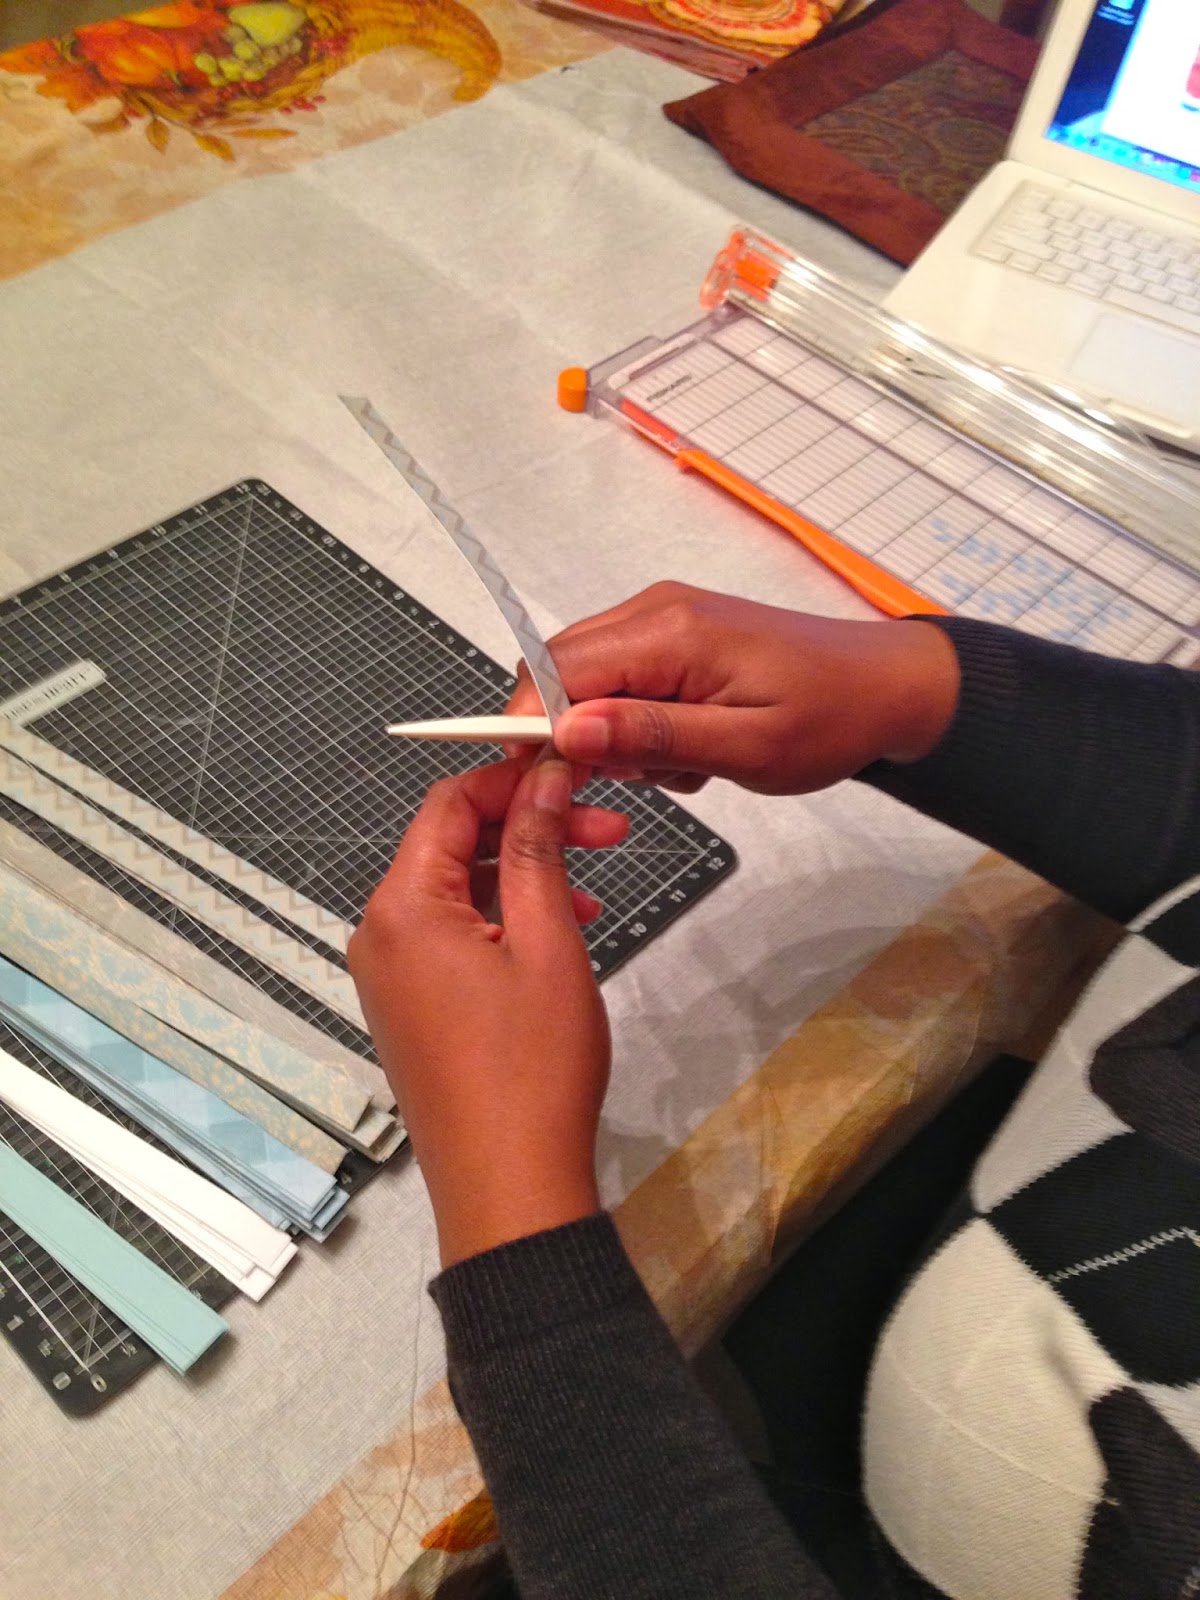
Continue this same curling technique down both sides of the paper.

When you complete the curling technique on each side you get curly's that look like this.

I curled all the patterned paper and card stock.

I added the curly paper by placing it down onto the styro foam and pushing a stick pin into the center. I continued this technique around the entire wreath until it was full to my liking.

Here are a few pictures of them hanging below the mantle of my fire place. I also sprayed the wreath with glimmer mist. Unfortunately I was unable to capture the full effect in the pictures.


Thank you for stopping by and Happy Crafting!!
Absolutely gorgeous!
ReplyDeleteThank you Maxine :-)
Deletebeautiful!
ReplyDeleteThank you Linda :-)
DeleteYeah! Thank you for the tutorial...I have one of those styrofoam wreaths that I need to put to good use. :) Love the bow you added too!
ReplyDeleteThank you Pamela!! I can't wait to see your wreath. I am sure it will be FAB as all of your creations are:-)
Delete